Infrared digital photography is a technique that involves capturing images using infrared light. This light is not visible to the naked eye, as it has a longer wavelength than visible light. To capture infrared images, specialised cameras and lenses are required.
One of the main benefits of infrared photography is that it can produce some unique and exciting effects, particularly in how it captures foliage and clouds. Different materials reflect and absorb infrared light differently, resulting in distinctive patterns and tones in the final image.
Several different techniques can be used when taking infrared photographs. One standard method is to use a filter, such as Hoya 72 or Wratten 87, which blocks visible light and only allows infrared light to pass through the lens and reach the camera’s sensor. Another technique involves using a camera modified to be sensitive to infrared light by removing the internal infrared blocking filter and replacing it with one more sensitive to infrared wavelengths.
One of the challenges of infrared photography is that it can be difficult to expose the image properly. This is because the sensor in the camera is not as sensitive to infrared light as visible light, which can result in images that are either too dark or too bright. To overcome this issue, it is often necessary to use a longer exposure time or to adjust the camera’s white balance settings.
In addition to the technical aspects of infrared photography, there are some creative considerations to remember. For example, using a narrow depth of field can help to create a sense of isolation and an otherworldly atmosphere in the final image.
Overall, infrared photography is a fascinating and rewarding technique that offers a unique perspective on the world. Whether you are an experienced photographer looking to expand your skills or a beginner looking to try something new, infrared photography is worth exploring.
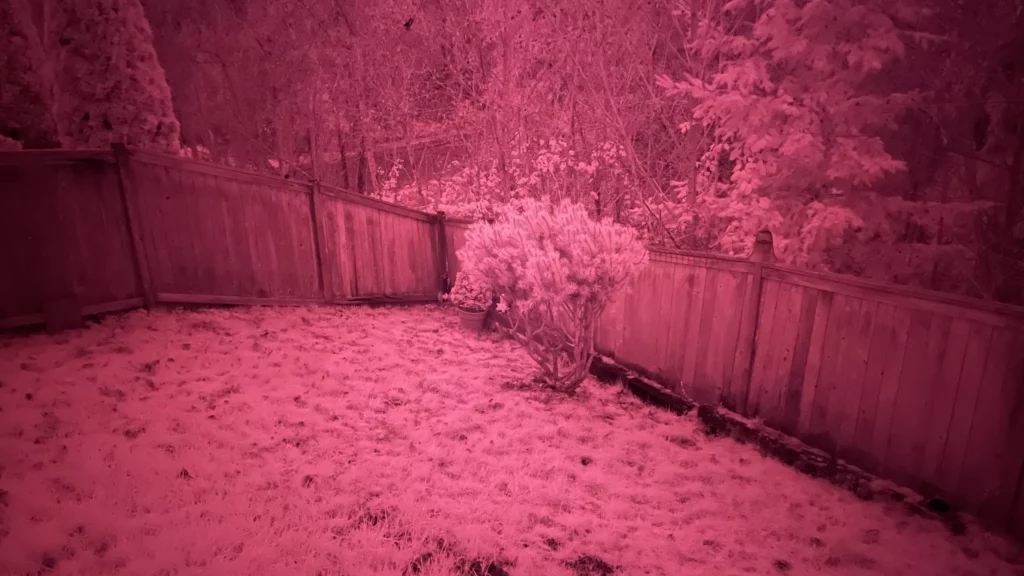
At the break of dawn, the sun’s light travelled eight minutes to earth, passing through the clouds bouncing off my backyard. As the redirected light travelled into the camera on an iPhone, the visible section of the light below the wavelength of 720 nanometers slammed into a filter and stopped. Meanwhile, light above the wavelength of 720 nanometers passed through the filter into the iPhone camera’s imaging sensors.

Looking at the image, some red light near 720 nanometers made it into the filter, while the rest of the infrared light created an image response. The image can look more like an infrared film photo if the image is adjusted. The image contains red, green, and blue channels. Swapping the red and blue channels produces a better result. Converting the image to greyscale and making minor exposure adjustments creates an image that looks like a film version of an infrared photo. I took this photo early morning, so the pronounced infrared result is not as striking. As seen in the image, the foliage is white. Infrared light quickly bounces off of leaves and grass.

